How to create a mileage in SpendCatcher
Step 1: Open Mileage
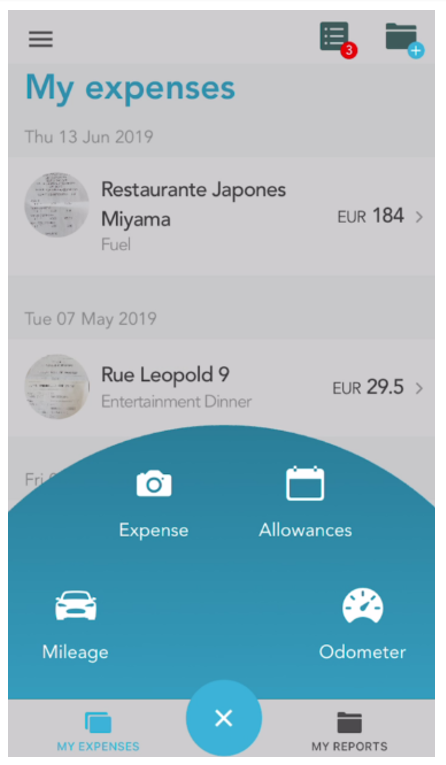
Tap on the “+” to open the circular menu.
Tap on “Mileage” to start a new Mileage.
Step 2: Enter the details
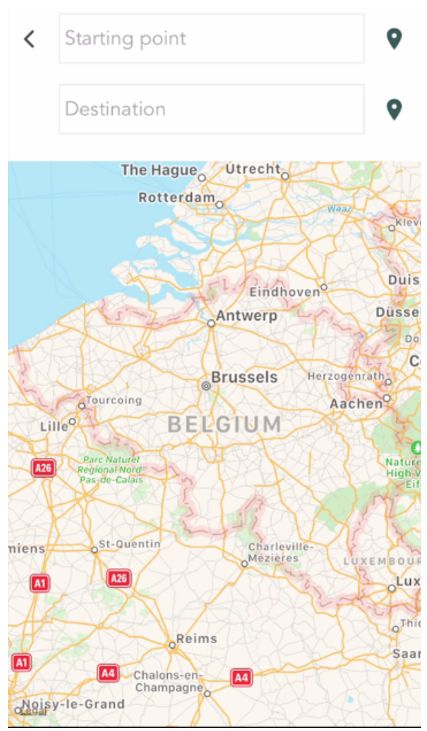
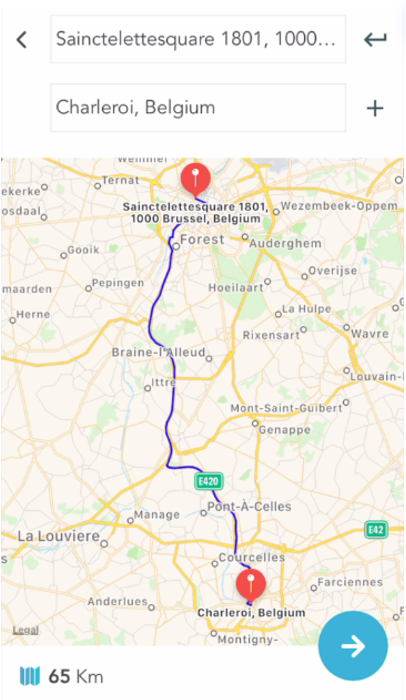
Enter your starting point and the destination you want to reach. The research is powered by Google Map, you can enter an exact address or the name of a place/company.
You can also :
Select the pin location icon to automatically set your position as the starting point or destination.
Once a starting point has been entered, you can select the return option to set the starting location as the return location.
Add as many destination as you want by selecting the “+” button.
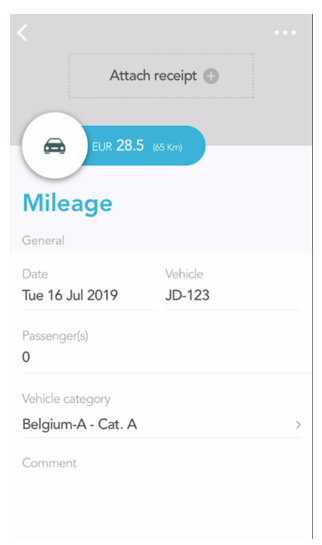
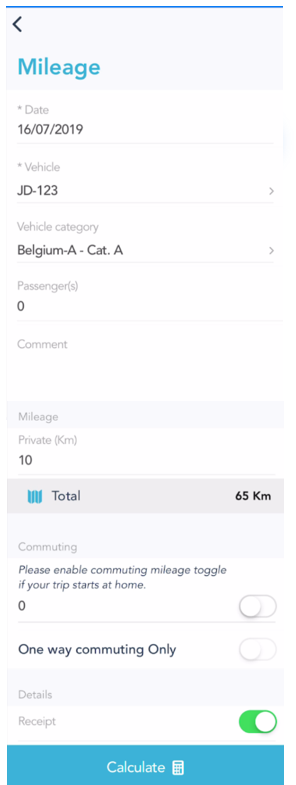
Details such as Date, Used Vehicle, Vehicle Category, and passengers are editable. By default, the date is set to the day you enter the mileage and the vehicle is the most recently used.
Optional: Add private kilometers/miles to automatically update the business km/miles and change the mileage calculation.
Optional: You can use the toggle button if commuting one or both ways.
Tap “calculate” to create your mileage.
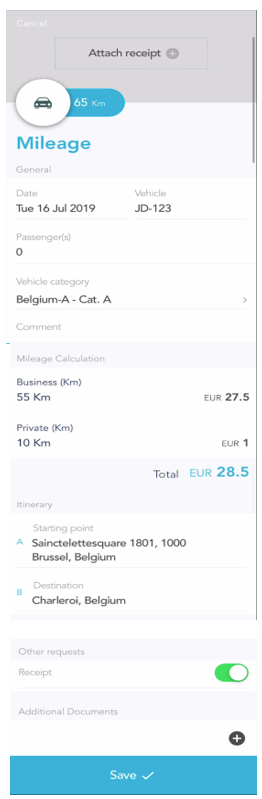
Once the calculation has been done, a new screen with all the details will appear.
Finally, you can save your mileage by tapping “save”
Step 3: Saving and editing your Mileage
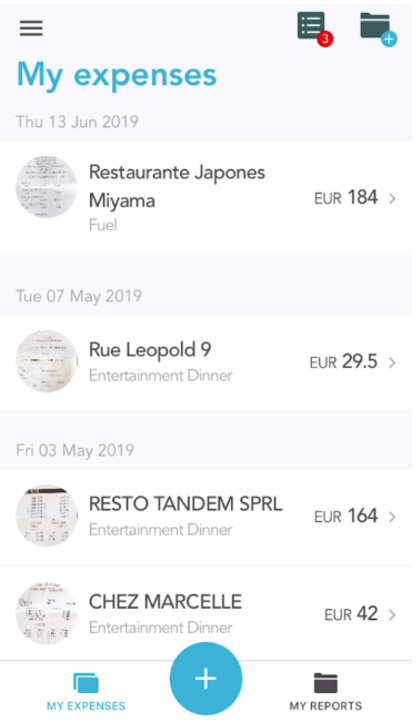
Once you have saved your Mileage, you will be redirected to the main screen. Your Mileage will be visible on the “My Expense” list. You can open it to see full details.
All fields are editable. Once you have edited a field, you will be asked to recalculate the Mileage. A “Recalculate” option will be available.
The “Cancel” button located at the top left of your screen allows you to cancel your mileage any time you want and all changes will not be saved.