
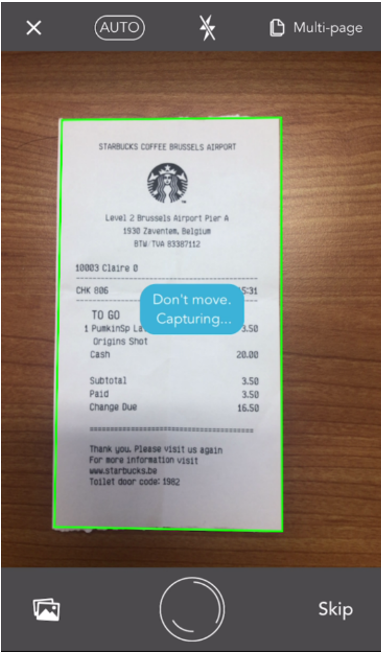
Step 1: scan your receipt
To get started, open your SpendCatcher app, then tap on the “+” to open the circular menu and choose “Expense” to start creating a new Expense.
Then, you can scan your receipt by taking a picture of it: press the circle located at on the bottom middle of your screen.

Additional features
|
Button |
Description |
|---|---|

|
Activate the auto trigger and let the app detect the receipt for you.
Location: Top middle-left of screen. |

|
Add pages if your receipt contains several ones. Location: Top right of screen. |

|
Activate the flash if you need more light. Location: Top middle of screen. |

|
Cancel the New Expense. Location: Top left of screen. |

|
Upload a receipt from your library. Location: Bottom left of screen. |
|
|
Skip and add a receipt later. Location: Bottom right of screen. |


|
Press the circle to capture the receipt. Location: Bottom middle of screen. |
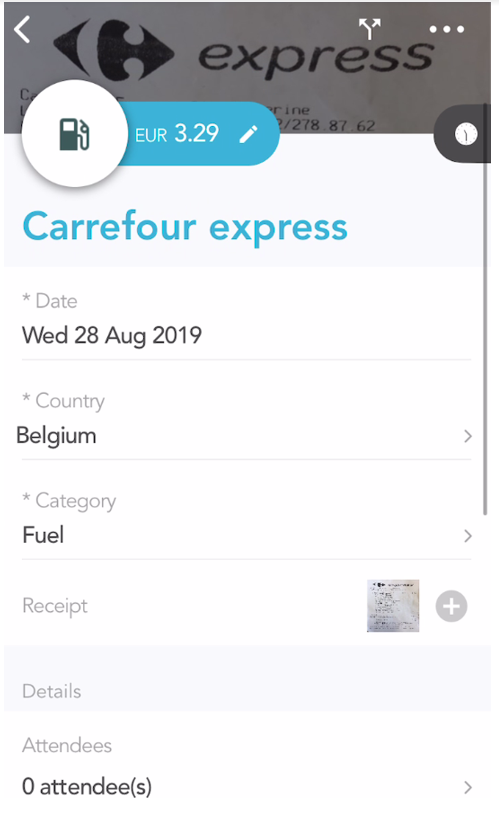
Step 2: enter the main details
The country selection is automatic if you allow the app to access your position. You are free to select the country of your choice manually.
Select a category for your expense.
Select a payment method. If several credit cards are associated with your profile, you will be able to choose one of them.
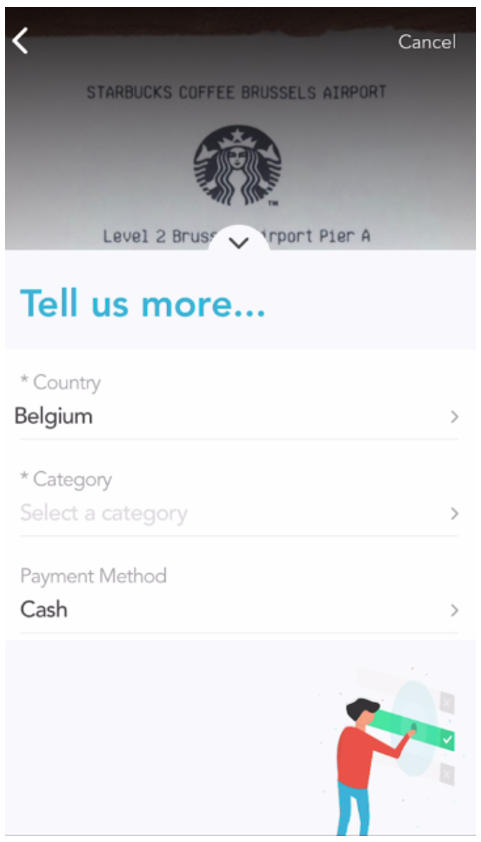
Once you have completed the mandatory fields.
Select “Scan” to trigger the scan of your receipt by the OCR, or select “Add manually” if you rather want to enter the details of your expense yourself
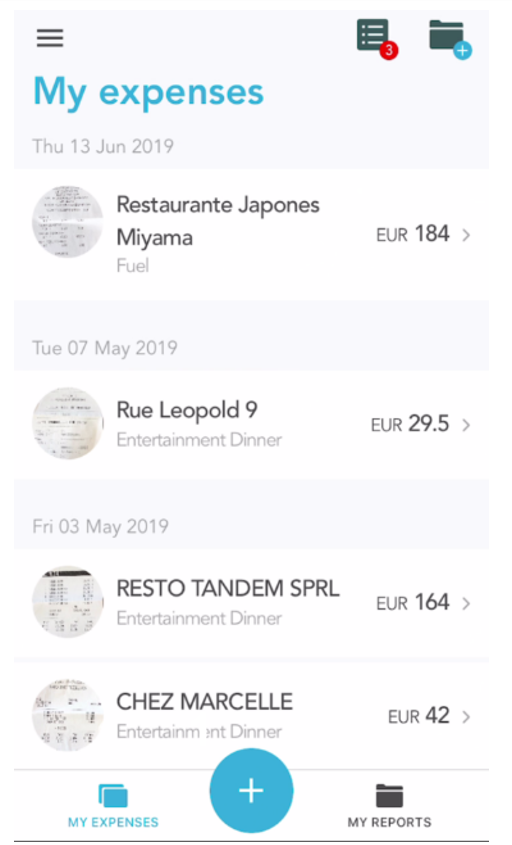
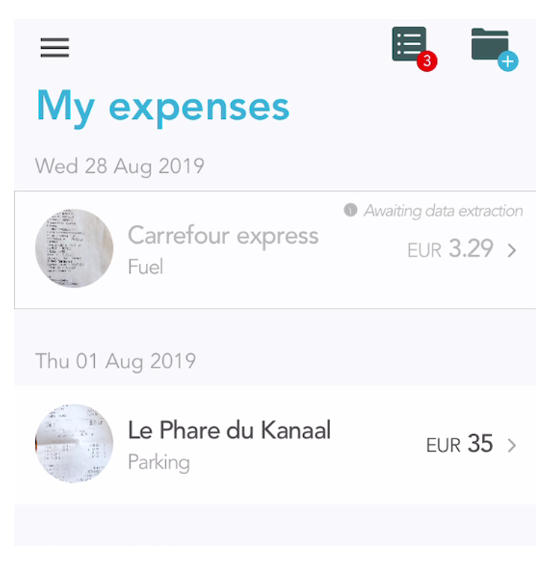
Step 3 : Save your expense
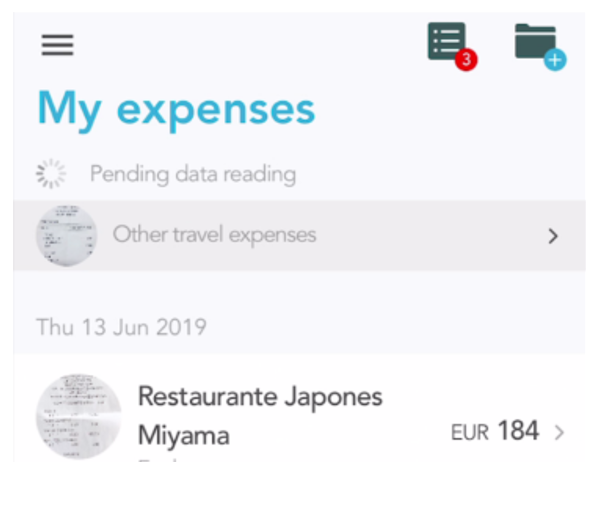
Once you have saved your expense, you will be redirected to the main screen.
OCR pending transactions will be displayed in this section on top of the “My expenses” page.
Note, the OCR processing can take up to 10 seconds to extract the data (Date, Amount, VAT, Merchant name & City) and update the transaction details.
Once created, you can select your expense in order to open the details. See all the details of your expense. On this page, you can choose to modify or complete the information regarding your expense.
About Human Data Enhancement
If your company subscribed to the Human Data Enhancement option, the end of the workflow differs a little. With human data enhancement, your transaction will then be analysed for a second time in order to confirm the first OCR result and extract extra information. This extra step can take up to 2h.
Note, this extra step is not a blocker and you can already edit your expense, include it in a report and submit it as you will usually do.