Introduction
This new feature improves the user's experience in managing their private expenses.
It allows users to export some or all of the expenses marked as private outside the application to make them available for other uses.
Step 1: Mark expenses as private and get to your private expenses
A reminder that you can mark expenses as private by sliding the expense from right to left to disclose the “Private” button.
Pressing the button will mark this specific expense a private.
In the menu, you can then access these private expenses.
.png?cb=c8964250243a709a39e7910e50d4ed4d)
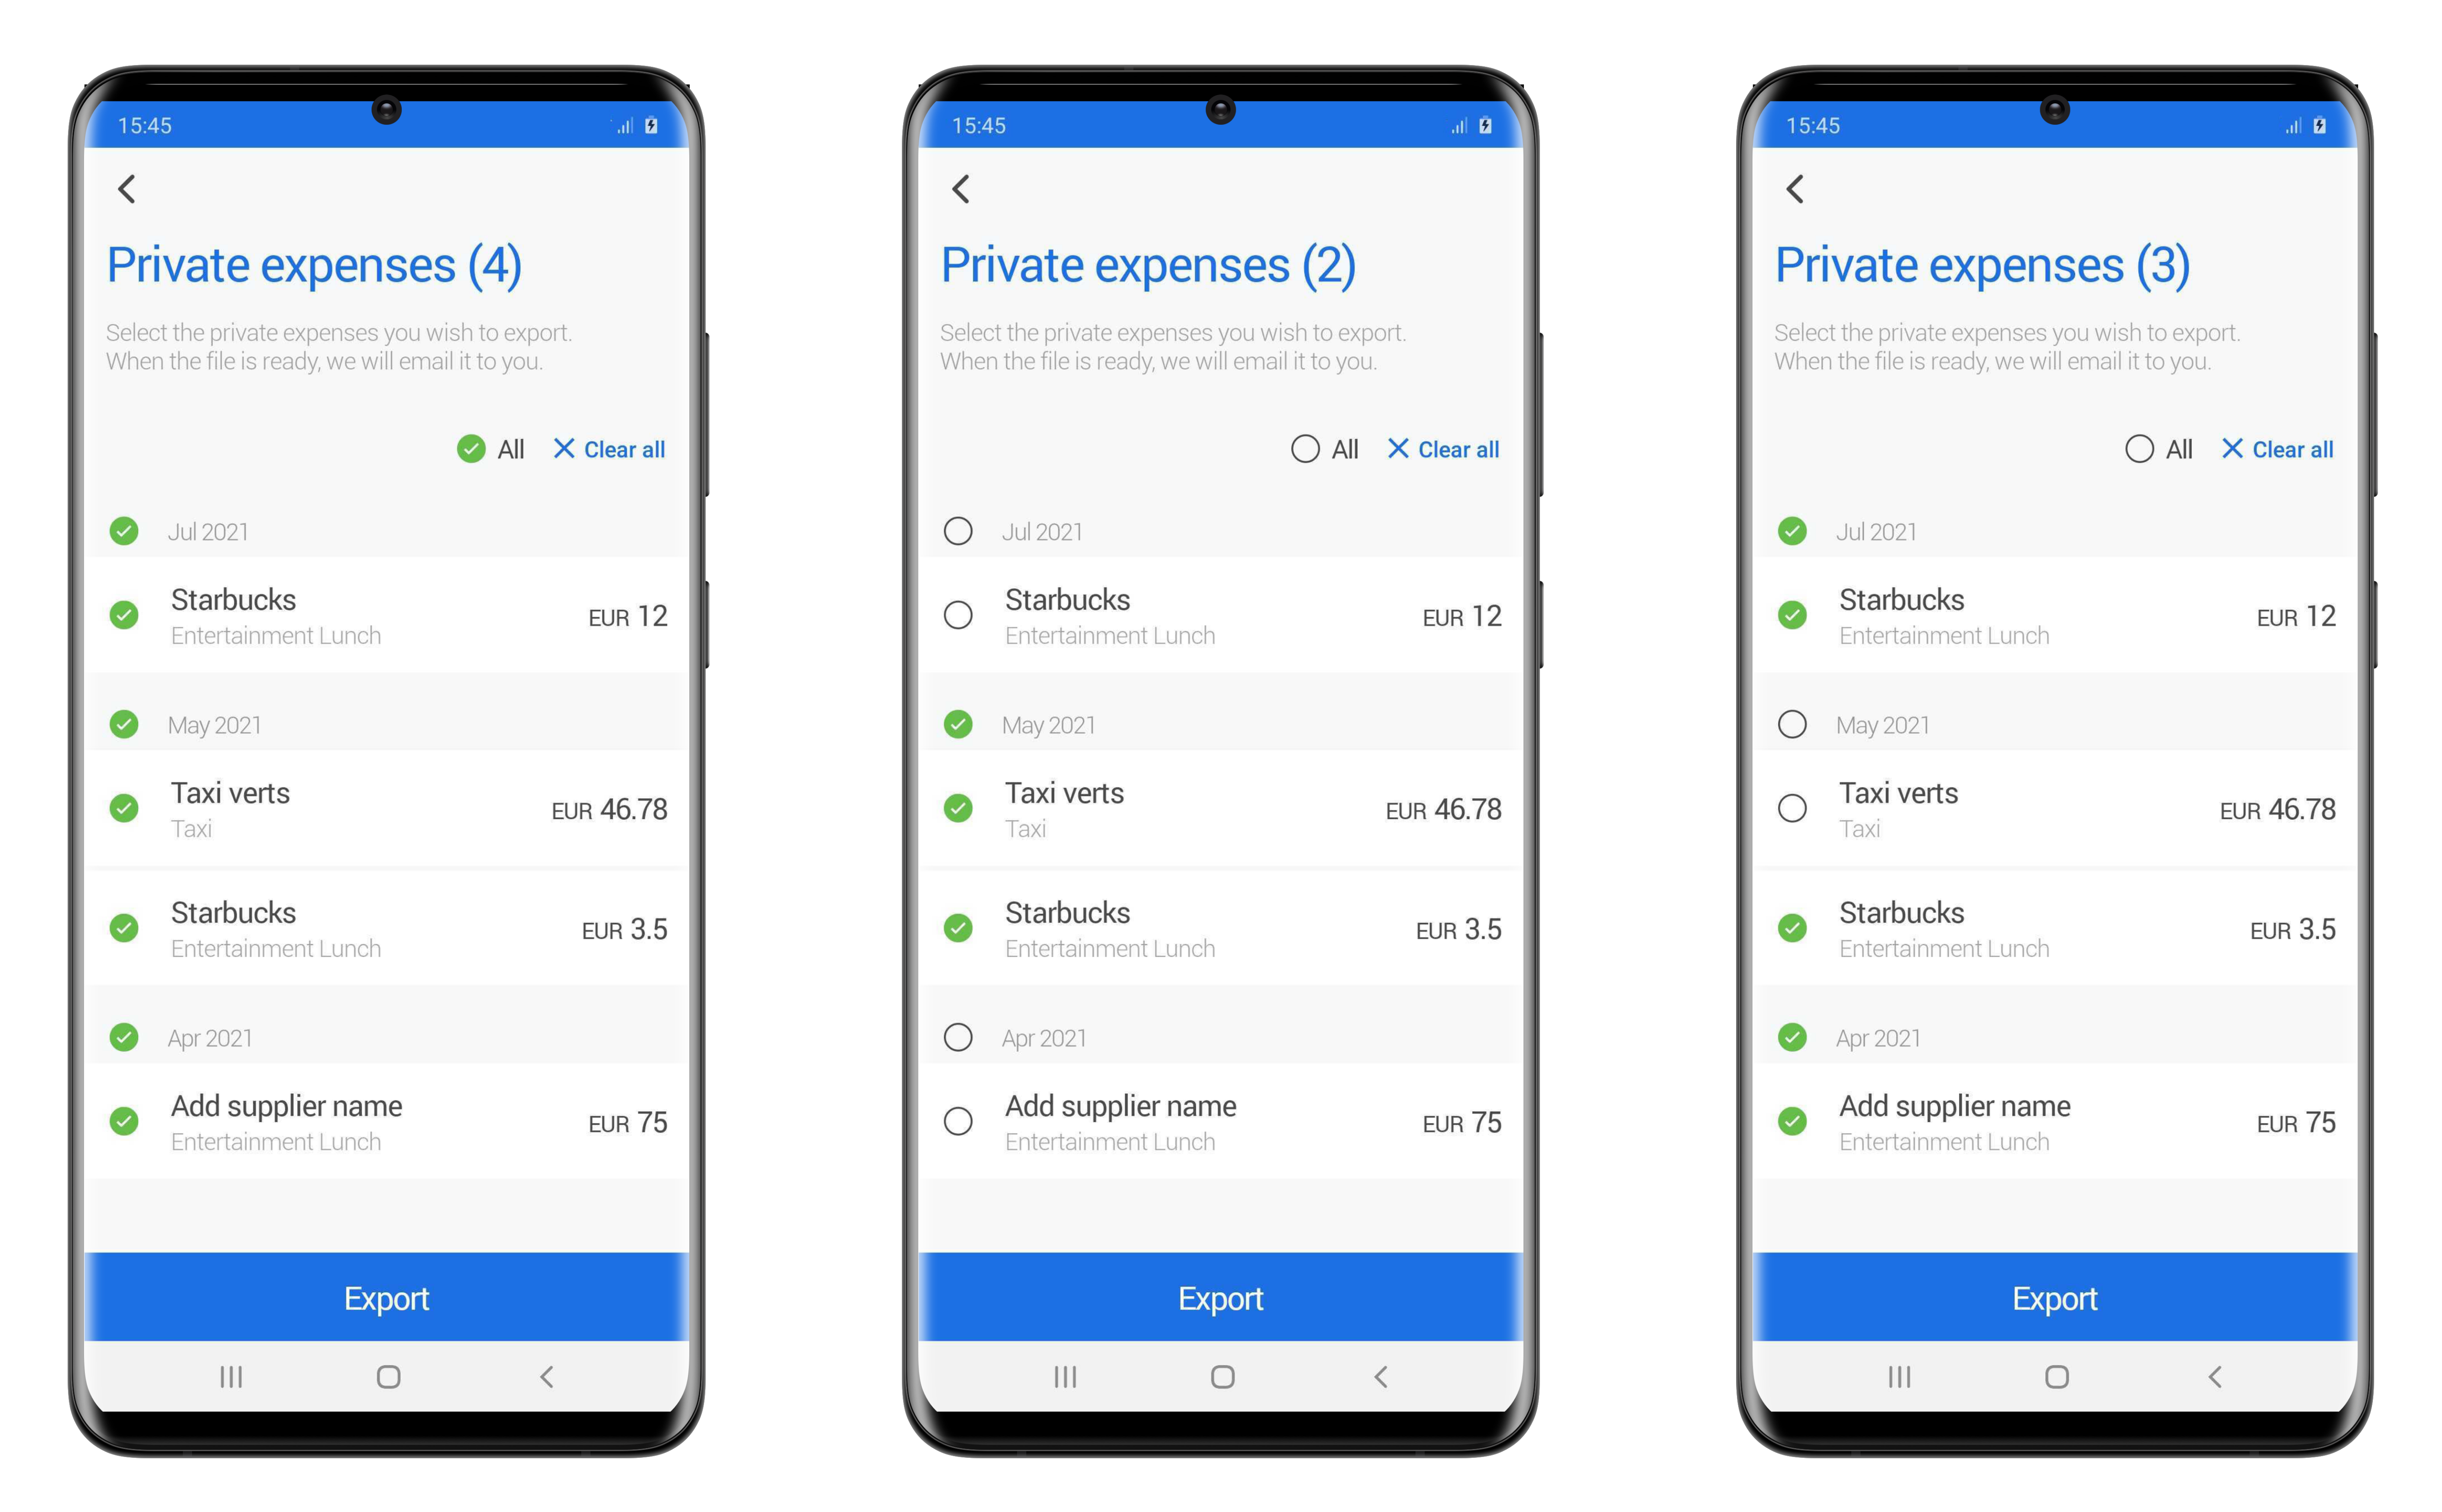
Step 2: Select the private expenses to export
|
To activate the selection mode for the expenses, you can select the button on top right of the screen to select the private expenses you would like to export. For Android users, long pressing any expense will also trigger the selection mode and the feature. |

|
You will then be able to select all expenses in the list, all expenses within a month, or some expenses.

|
This button here allows you to select ALL the expenses in the list. If you unselect it after its ticked, it will unselect all the expenses. |

|
This button allows you to unselect all the selected private expenses. |
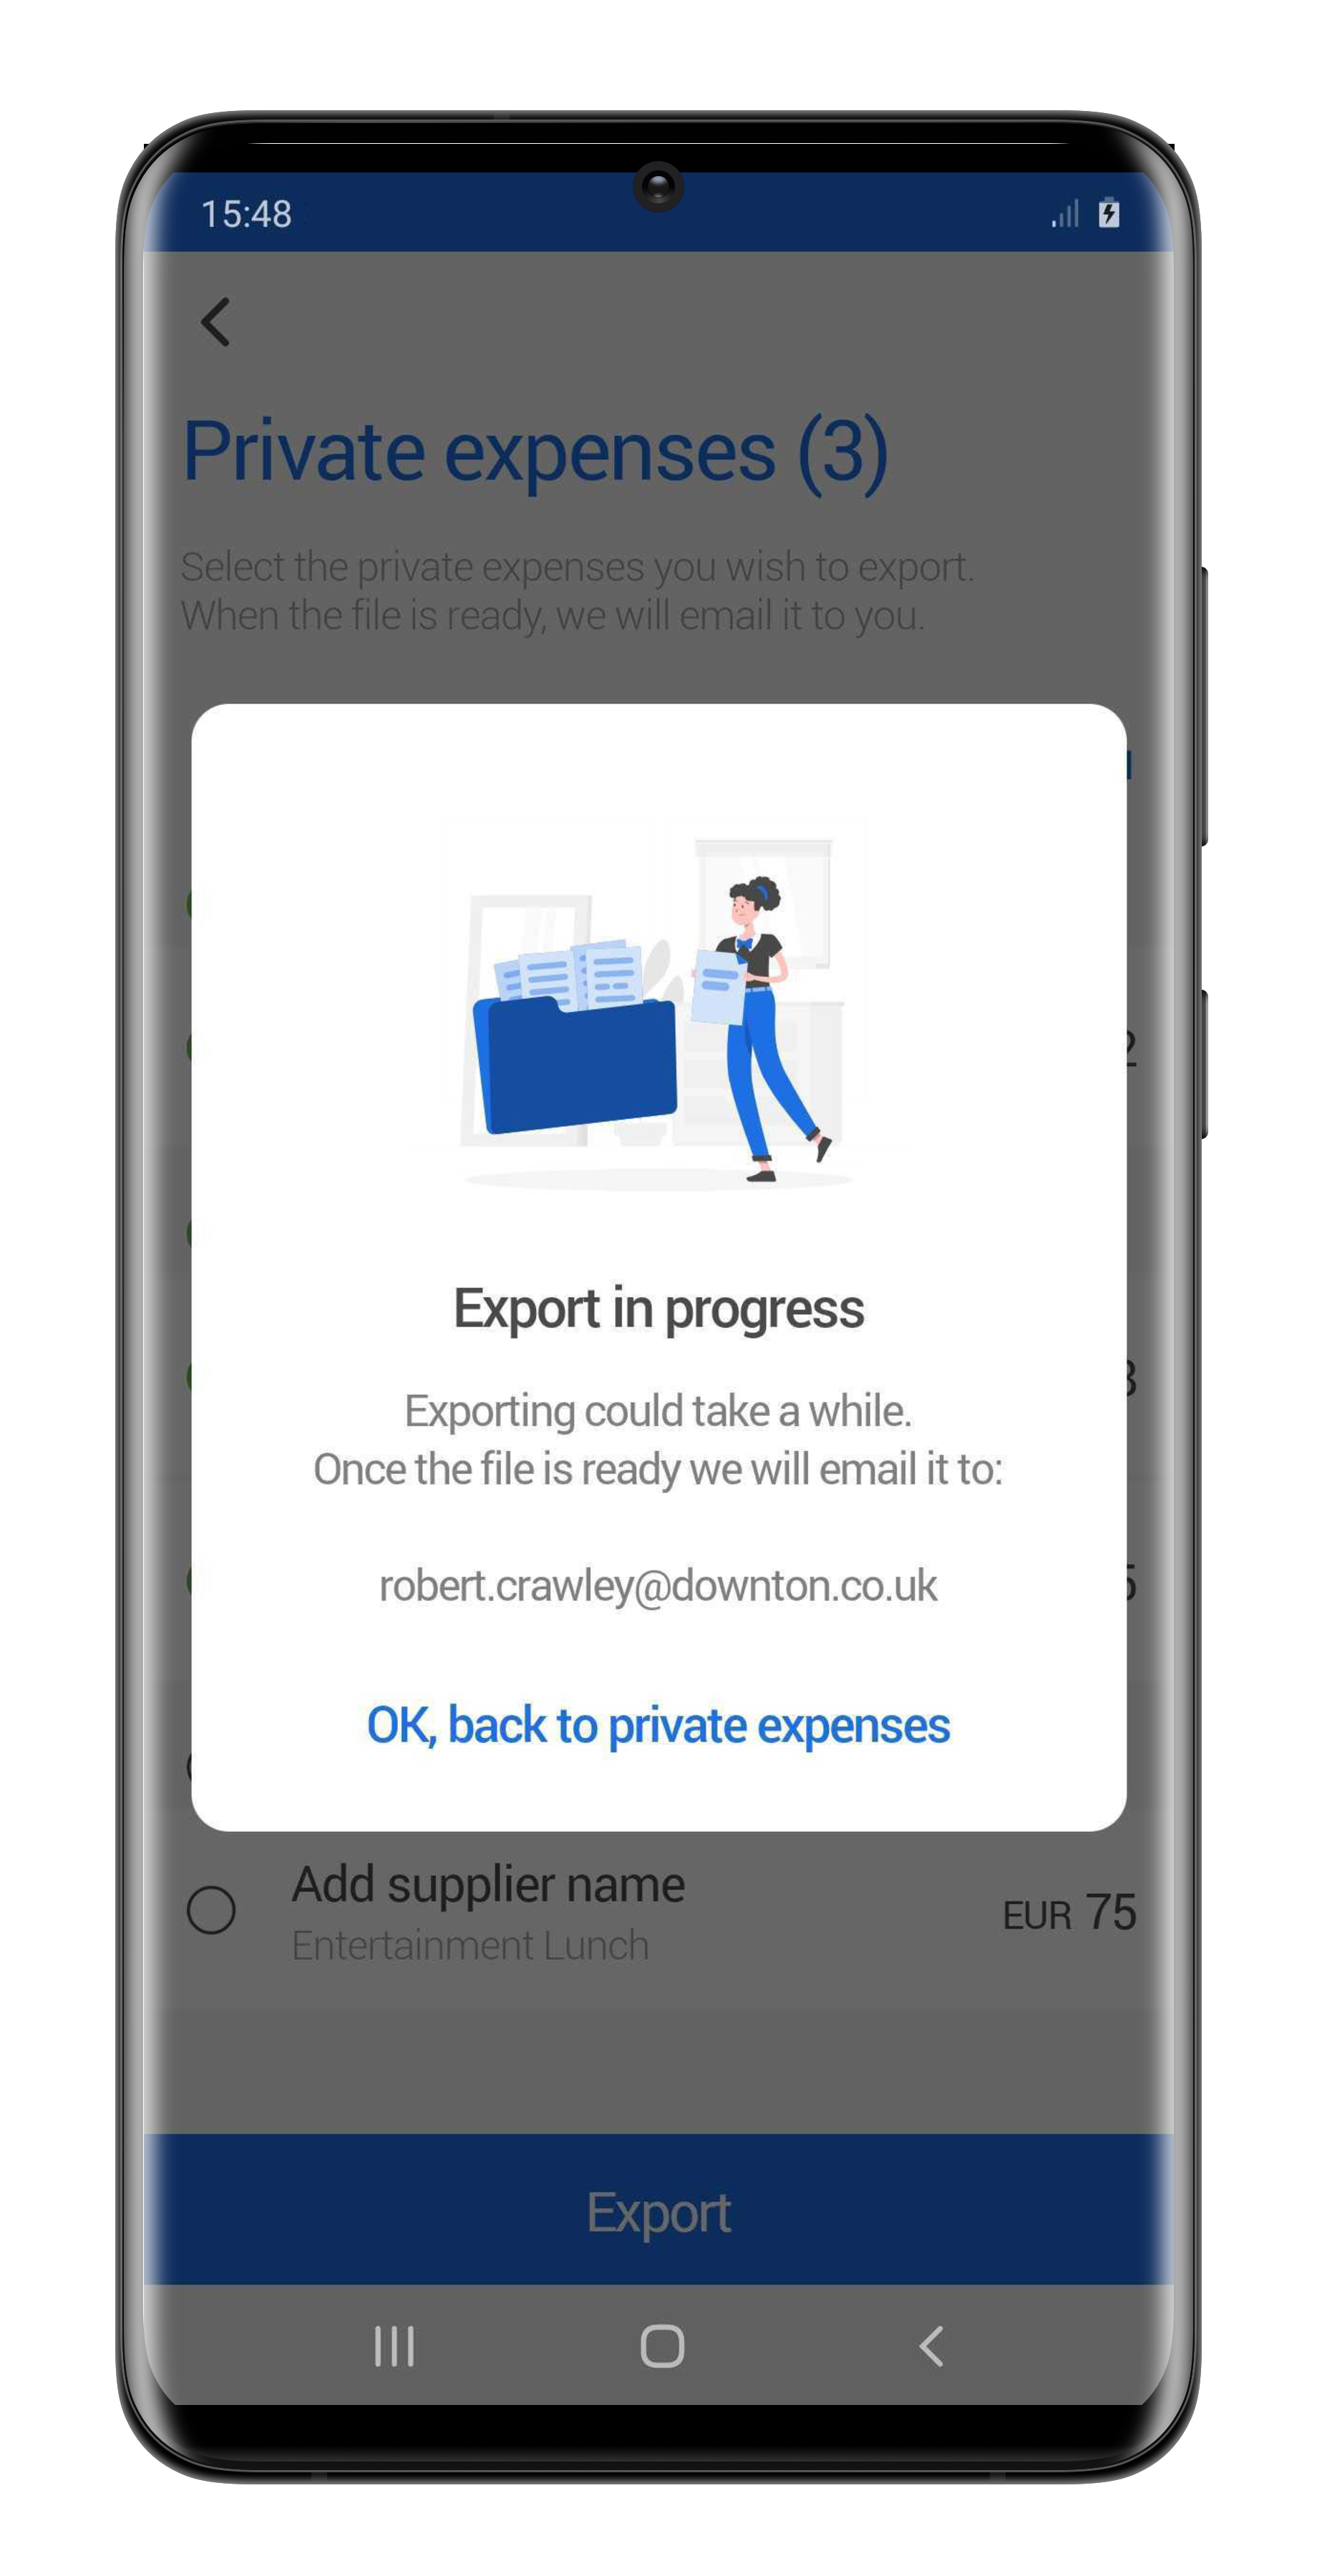
Step 3: Export
Once you have selected the private expenses you want to export, you can select the “Export” button.
The app will then export these expenses in a CSV file to the email account linked to your user profile.
The pop-up that appears on the screen lets you know the expenses are being exported and to which email address it is being sent.
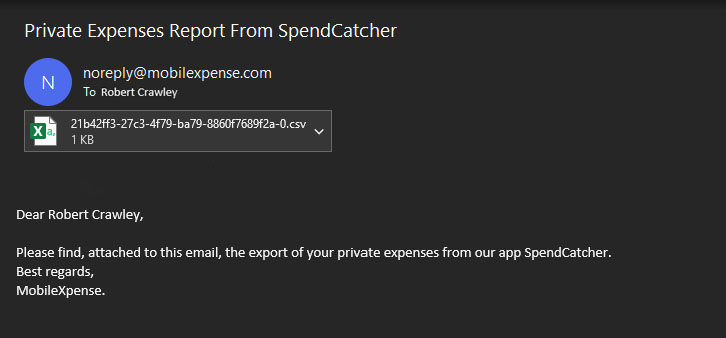
Step 4: Check your emails
In your mailbox, you will receive an Email from MobileXpense with attached an excel file of your private expenses.