Step 1: Open the deputy account list
-
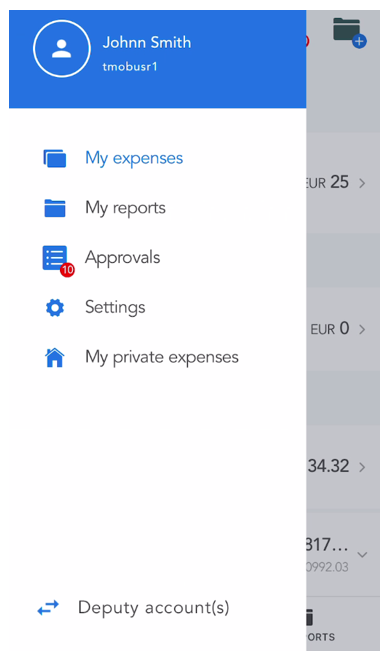
Open the SpendCatcher app and tap on the top left button to open the menu.
-
Select Deputy accounts at the bottom of the screen.
Step 2 : How to read the Deputy list
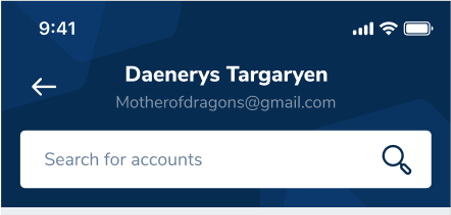
Tap on the search bar to look for for a specific account in your deputy accounts list.
You will find a legend card explaining the rights you can have as a deputy :
-
Create an expense
-
Send a report for approval
-
Approve reports or travel requests

The account you are currently on will be displayed with a blue background icon.
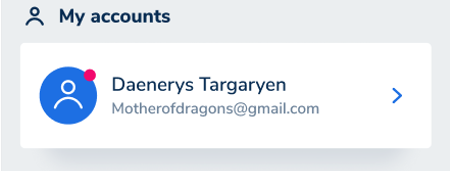
You can find here the list of all the accounts you have access to. Simply tap on one of the vignette to be redirected to the corresponding account. Under each account will be display the rights you have as a deputy for this account.
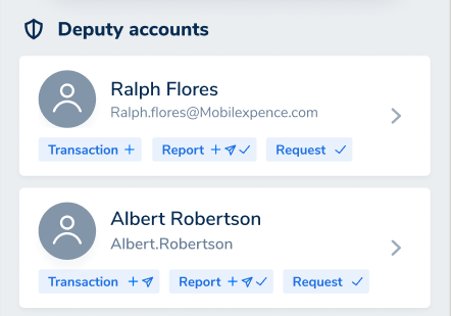
Step 2 : How to read the Deputy list
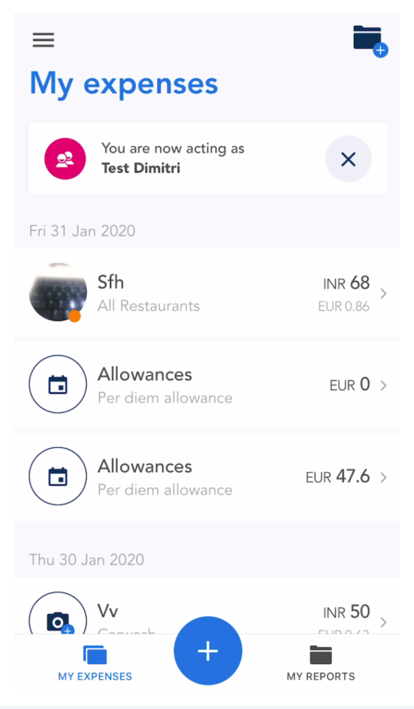
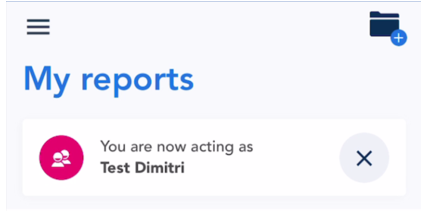
When switching for a Deputy Account, a little message will appear to let you know for whom you are acting and avoid confusion.
The message will appear on all the screens you have access to, for example Reports and Approvals.
You can hide the message by taping on the Delete button.
Note: if you shutdown the app and open it again, the message will appear again as a reminder.
