How to manage receipts sent by email
Introduction
Step 1: Learn more about the new feature
When you get started with the SpendCatcher Email feature a banner in the main expense view will let you know the feature is activated.
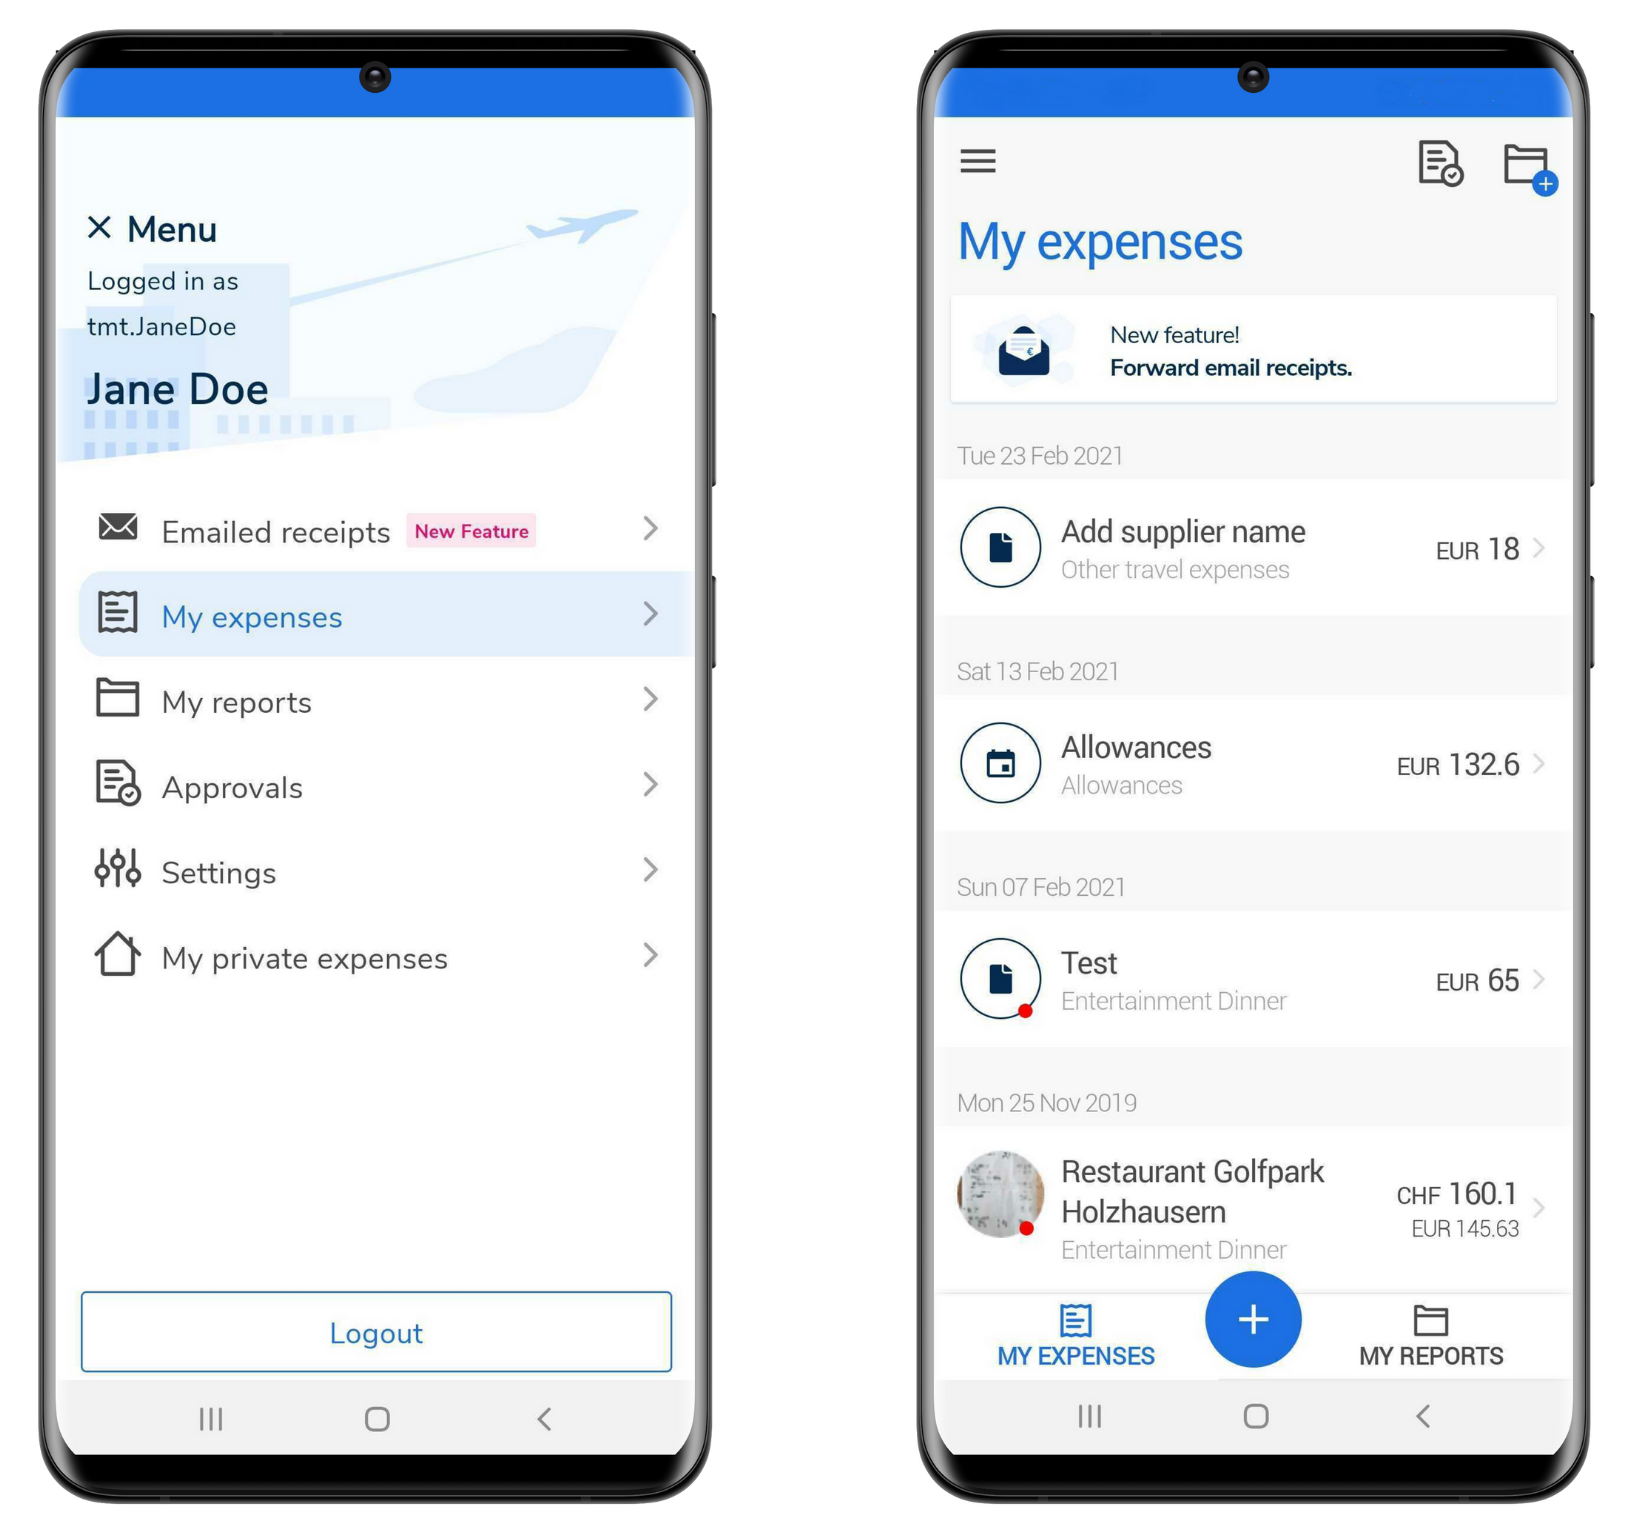

You can also access it through the left menu. Tapping on the banner will redirect you to the Emailed Receipt feature information view.
In this view, you will find all the necessary information to understand and use the feature.
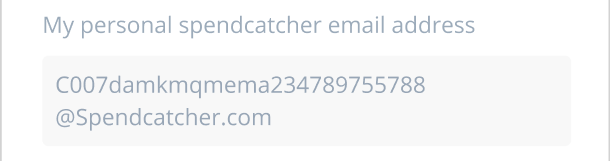
You will also find the most important information, the email address to which you will have to transfer your email receipts.
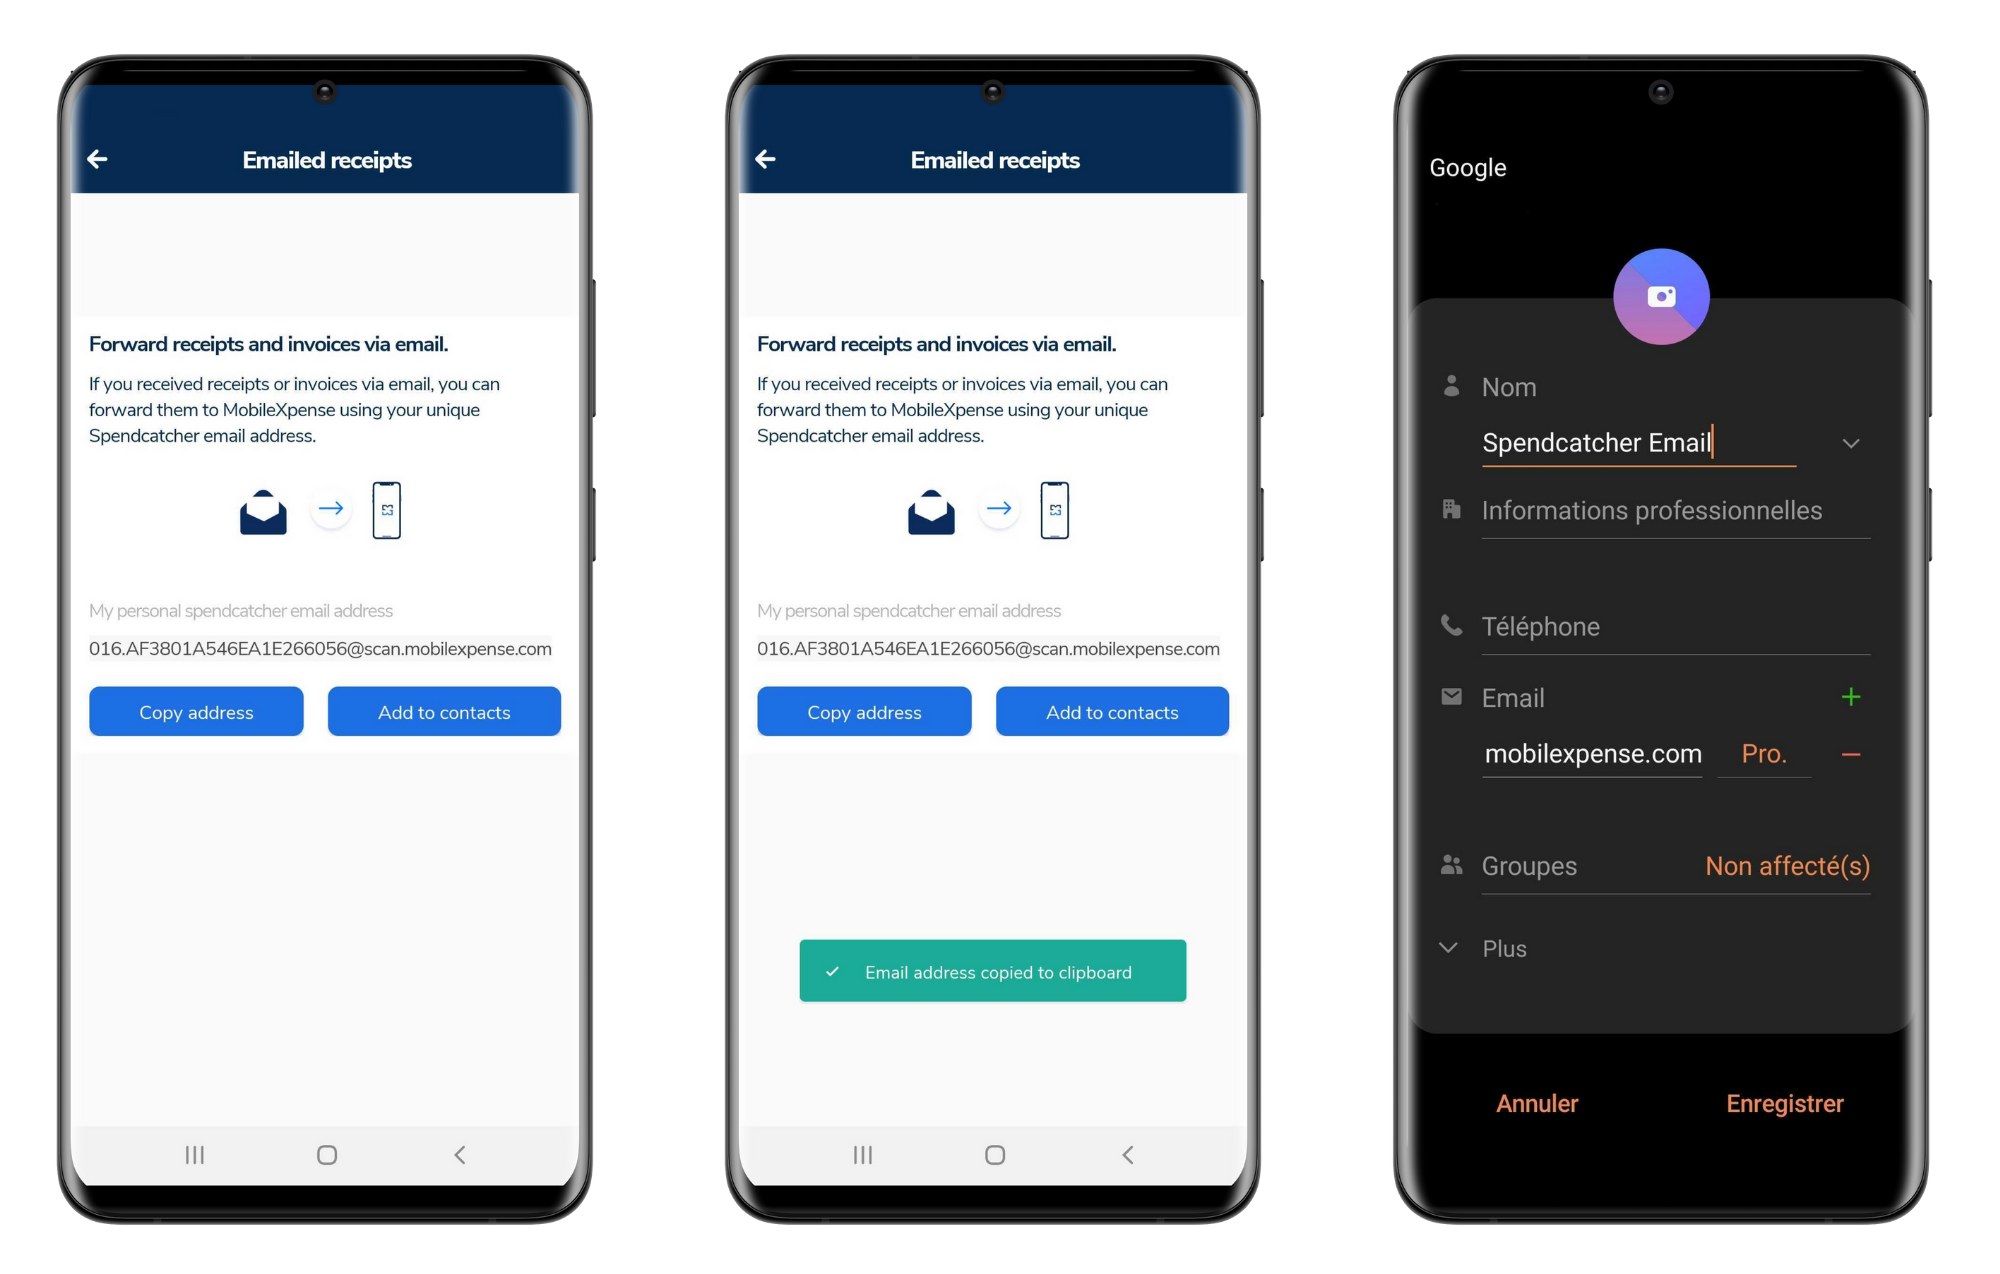
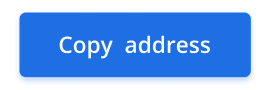
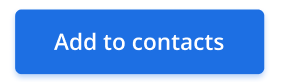
You have the choice between copying the address in the phone clipboard or adding it to the phone contact in order to have it available at any moment.
When first activated, you will find all necessary information on the feature as well as the SpendCatcher Email dedicated address in the information panel accessible through the banner in the main expense view or the left menu.
It will allow you to
Copy the email address into your phone clipboard in order to past it right away anywhere you want
Add the email address to your phone contacts so that you will be always able to easily find it.
After forwarding your first emailed receipts this view will still be accessible through the Emailed receipts view. At the bottom, you’ll find a button to reach back the information view.
Display/Button | Description |
|---|---|
 | The custom address email dedicated to sending the receipts per mail is displayed here |
 | Copy the email address to your phone clipboard in order to past it and use it easily. |
 | Add it to your phone contacts to access it easly. We recommand doing it so that the access will be easier afterward. |
Step 2: Sending your receipt per email
It may take a few seconds for the system to process and for your email to appear in the email receipts view
Using the dedicated email address, send your receipts per mail or transfer any emailed receipt to SpendCatcher.
The system will extract any pdfs, mail body or attachment that can be detected as a receipt.
Step 3: User your emailed receipts for an expense
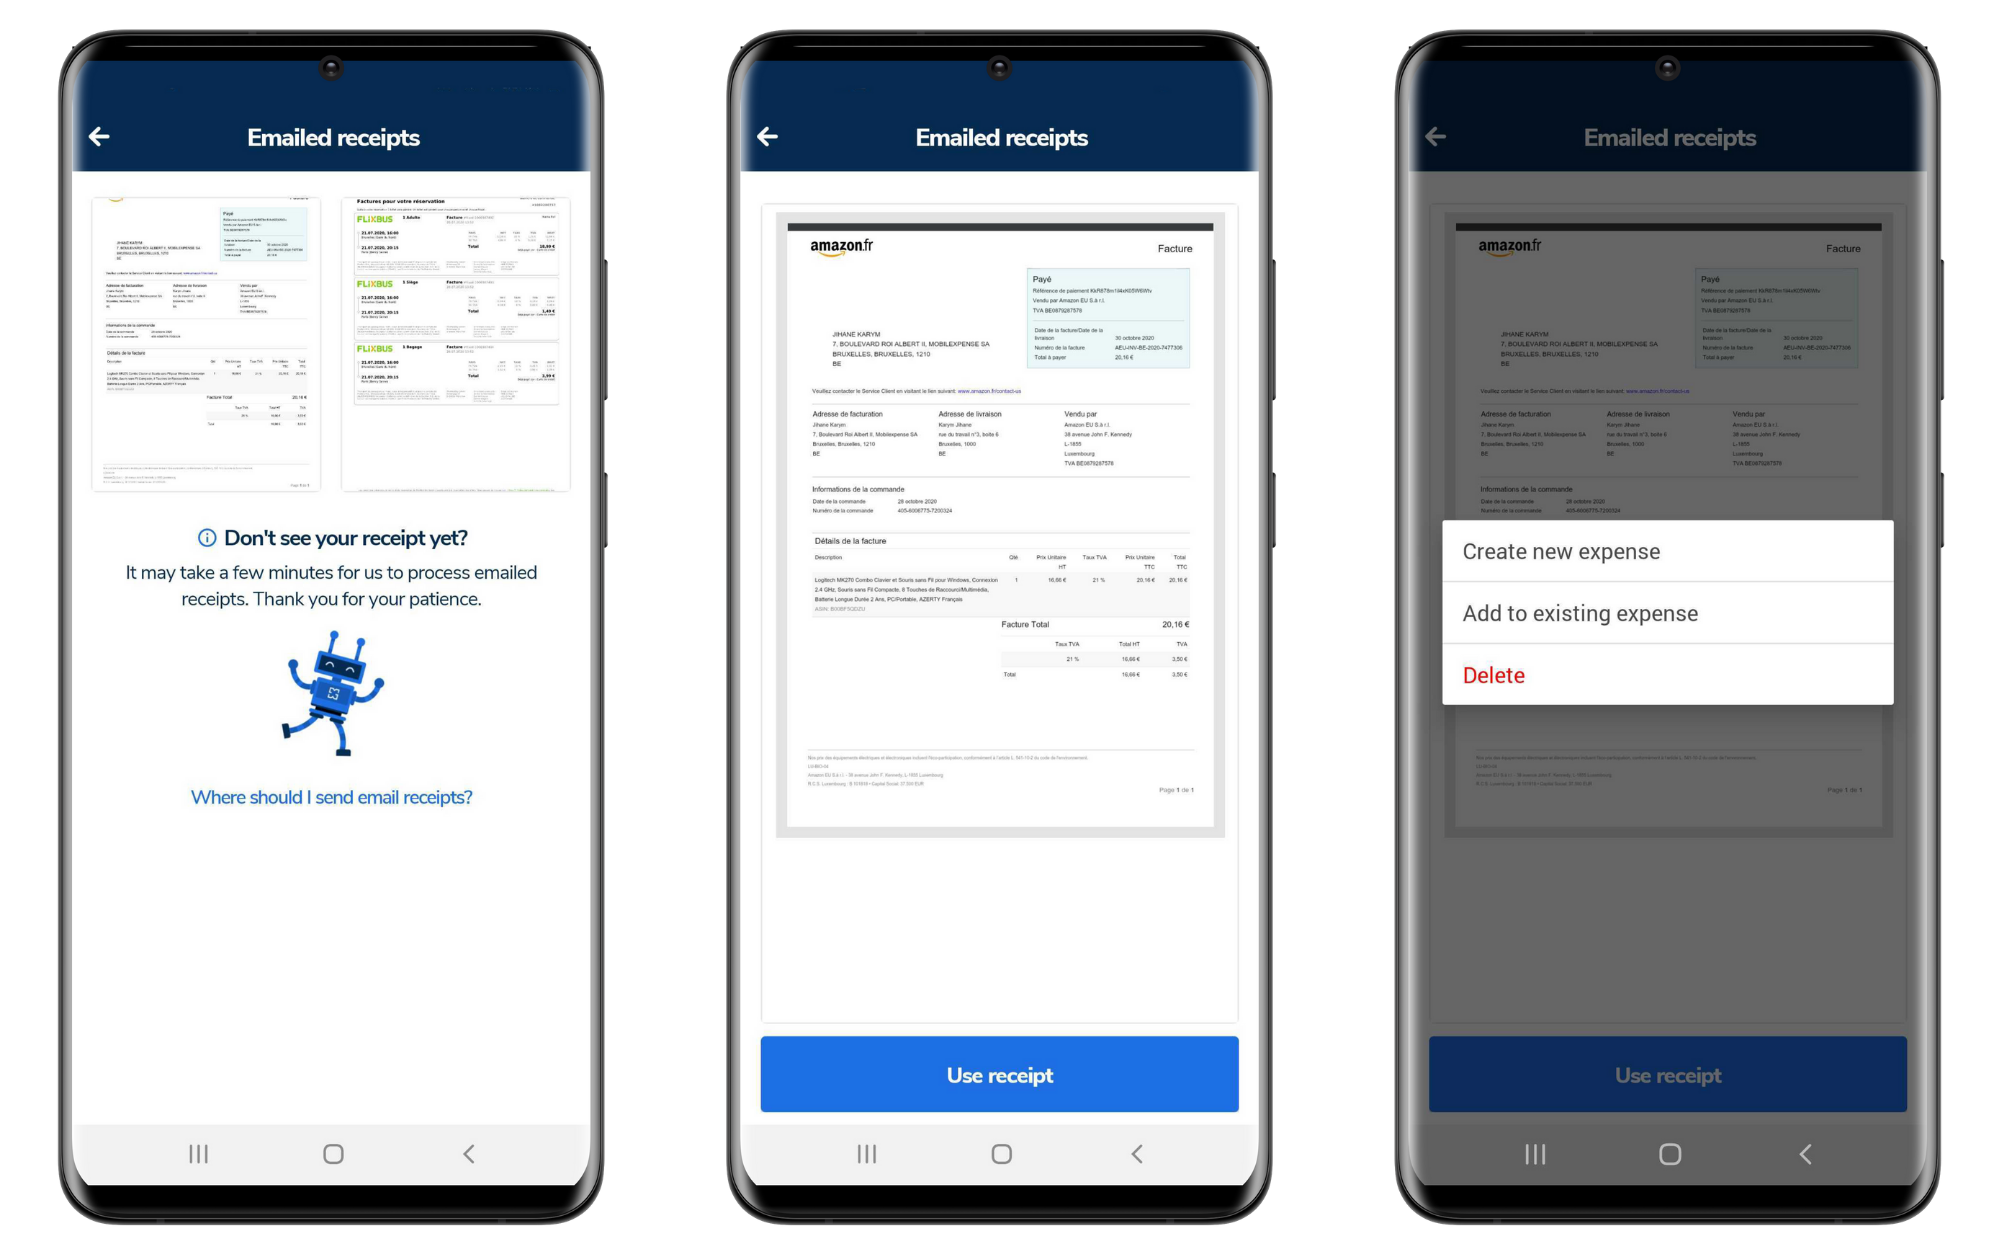
Once you started forwarding emailed receipts to your SpendCatcher mail address. You will see the banner on top of the expense view. The banner lets you know there is emailed receipts available and how many.
Either by tapping on the banner or through the “Emailed receipts” option in the menu, you will access the emailed receipts view.
You will be able to view all the emailed receipts and use them to
create an expense
add the receipt to an existing expense.
select those he wants to delete.
For that, the user needs to select the receipts and press the “Use receipt” button to showcase the option.
Display/Button | Description |
|---|---|
 | Create a enterly new expense using the emailed receitp. |
 | Add the emailed receipt to an already existing expense. |
 | Delete the emailed receipts. Please note that you can also delete several emailed receipts at once. (more info: Delete an item) |
Create a new expense
We simplified the flow to create an expense so that the user can quickly and easily fill the necessary and mandatory field to the expense creation and move on to other receipts.
You will first be asked to fill the three main fields:
Country (pre-filled by geolocalisation).
Category of the expense.
Payment method (pre-filled by default method).
Afterwards, all the other expense fields will appear for you to complete.
Please note that in order to be able to save the expense, you will need to fill ALL mandatory fields.
Once the mandatory fields are completed, you will be able to create the expense by pressing the save button (top right of the screen).
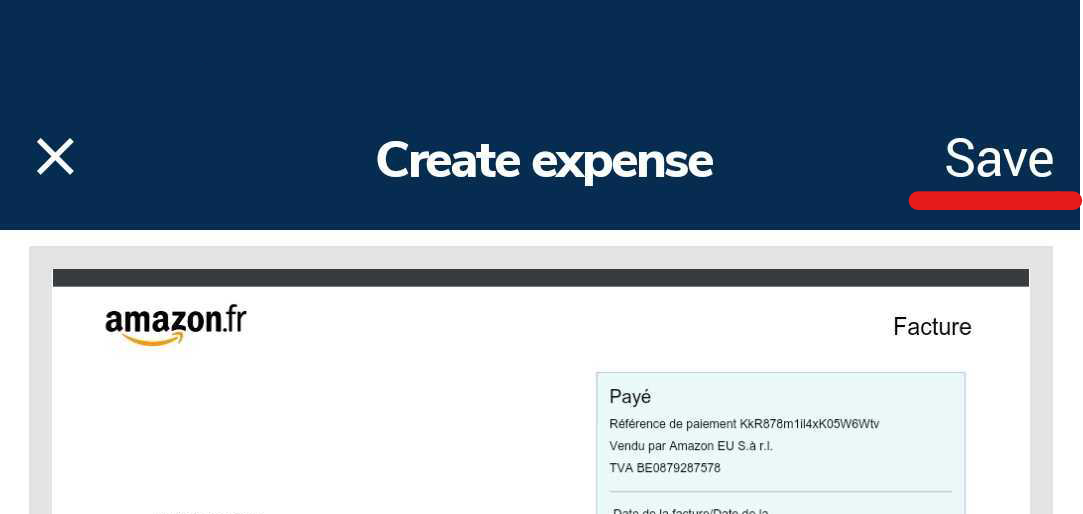
You can also cancel the creation at any time using the cancel button (top left of the screen).
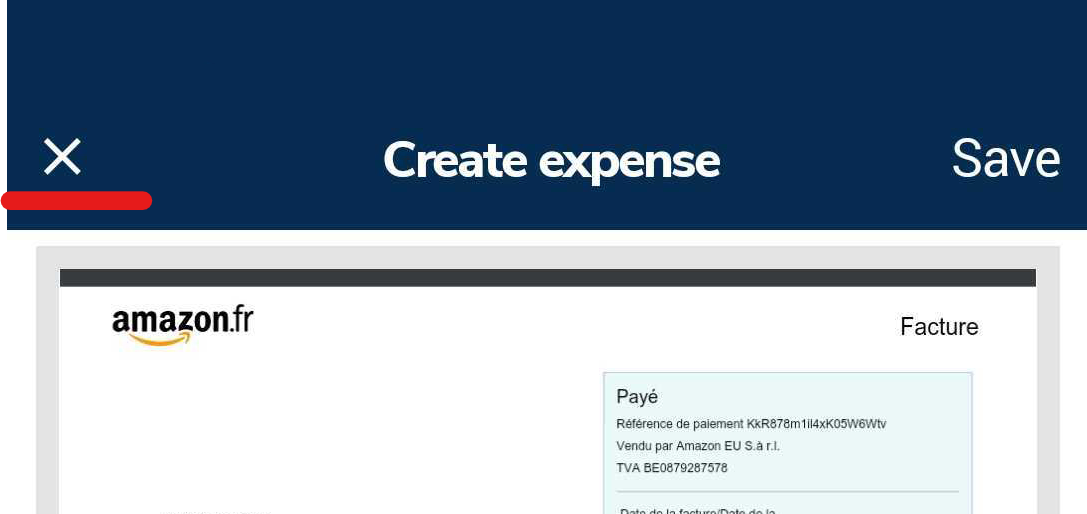
After creating the expense, the user is redirected to the emailed receipts view and a toast will let know of the success of the expense creation.
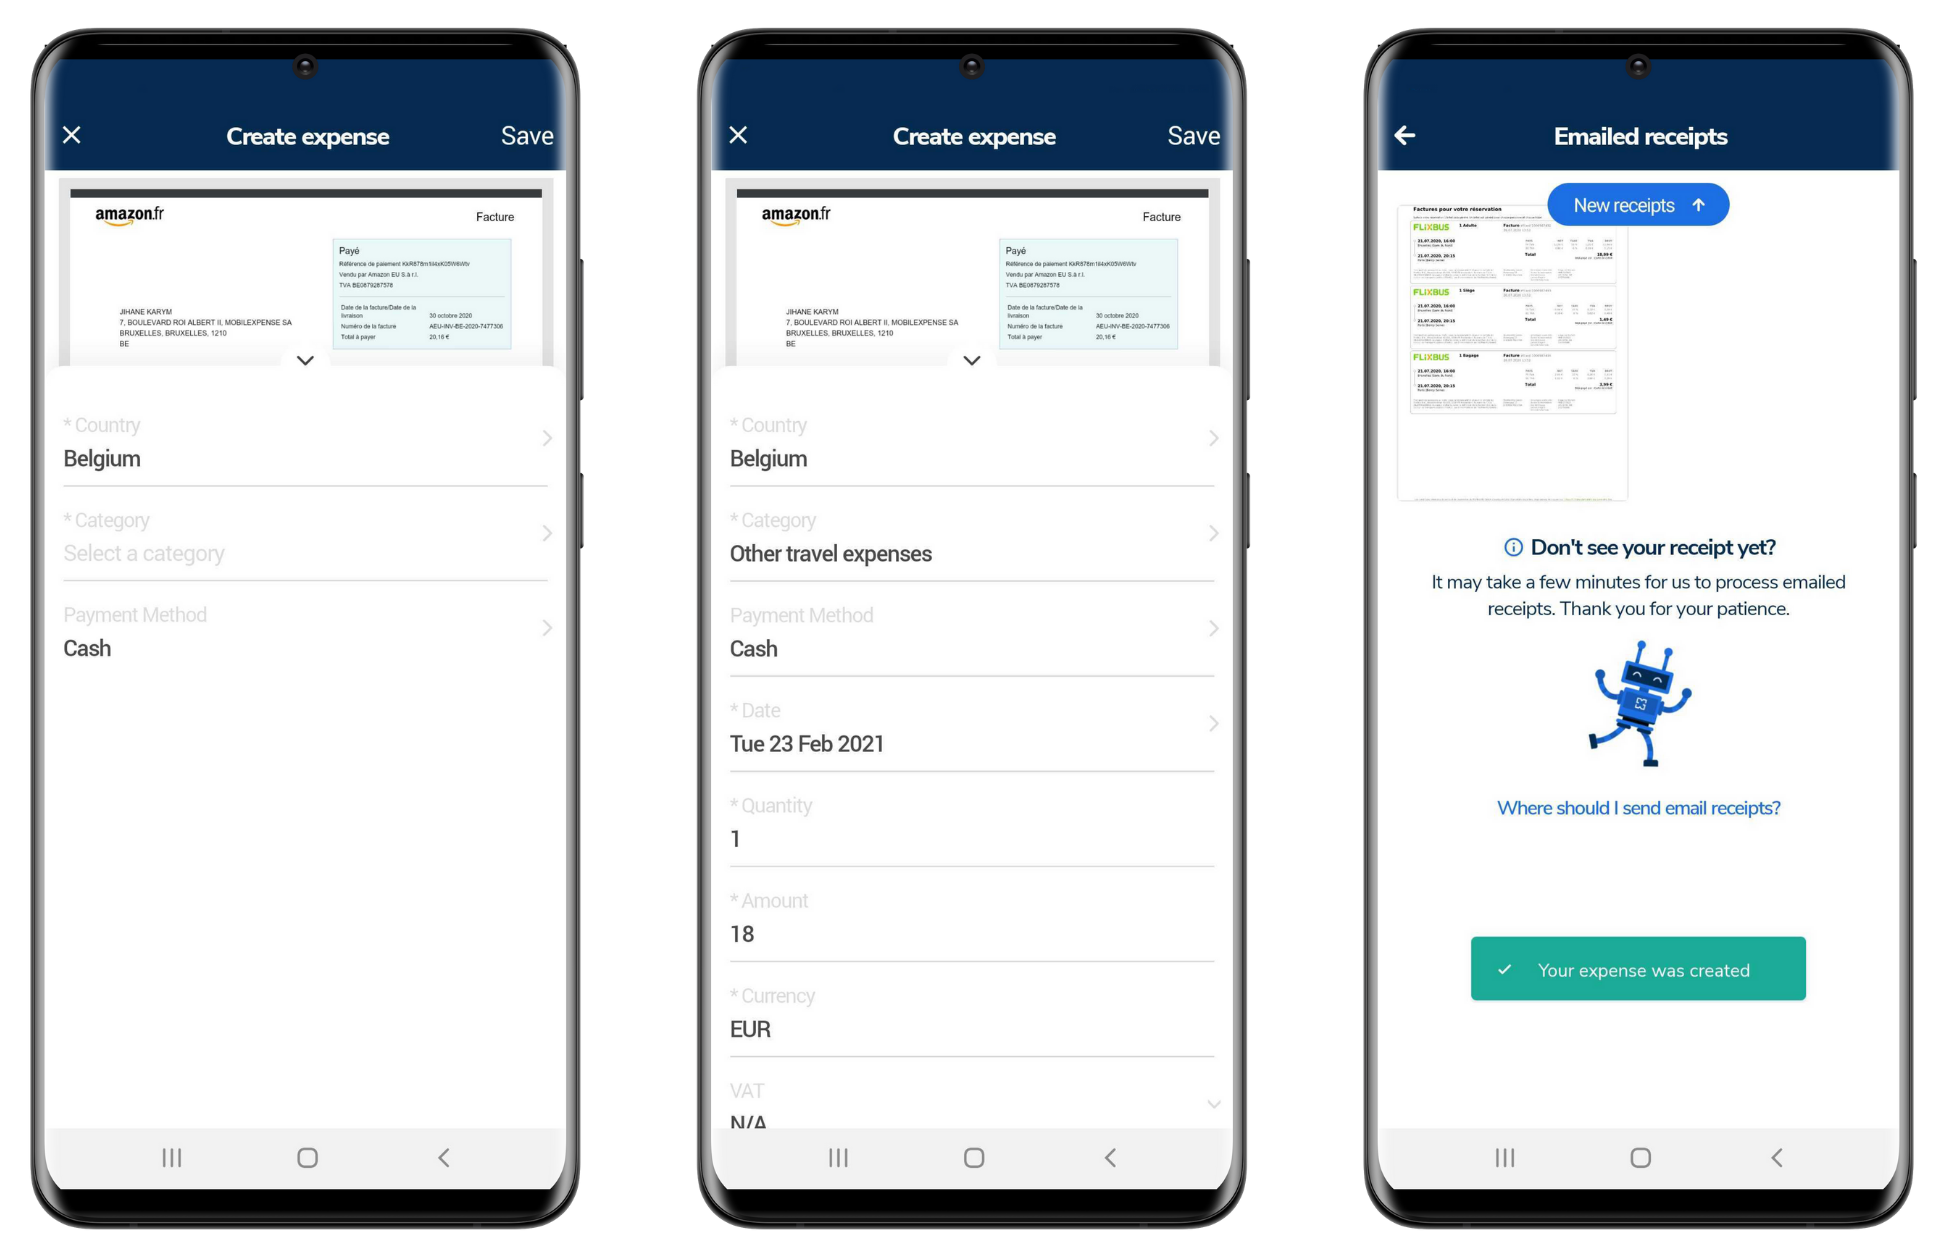
Add to existing expense
If the expense already exist but you wish to add the emailed receipts to it, simply select “add to existing expense” and the receipts will directly be added to that expense.
Delete an item
If any unnecessary receipts appear or if any non required items have been extracted from an email, you can delete one or several of them in one shot.
Delete an item
When selecting the item/receipt you would like to use, one of the options displayed will be to delete the item.
When selecting the delete option, you will be redirected to the emailed receipts screen and the item will be deleted.
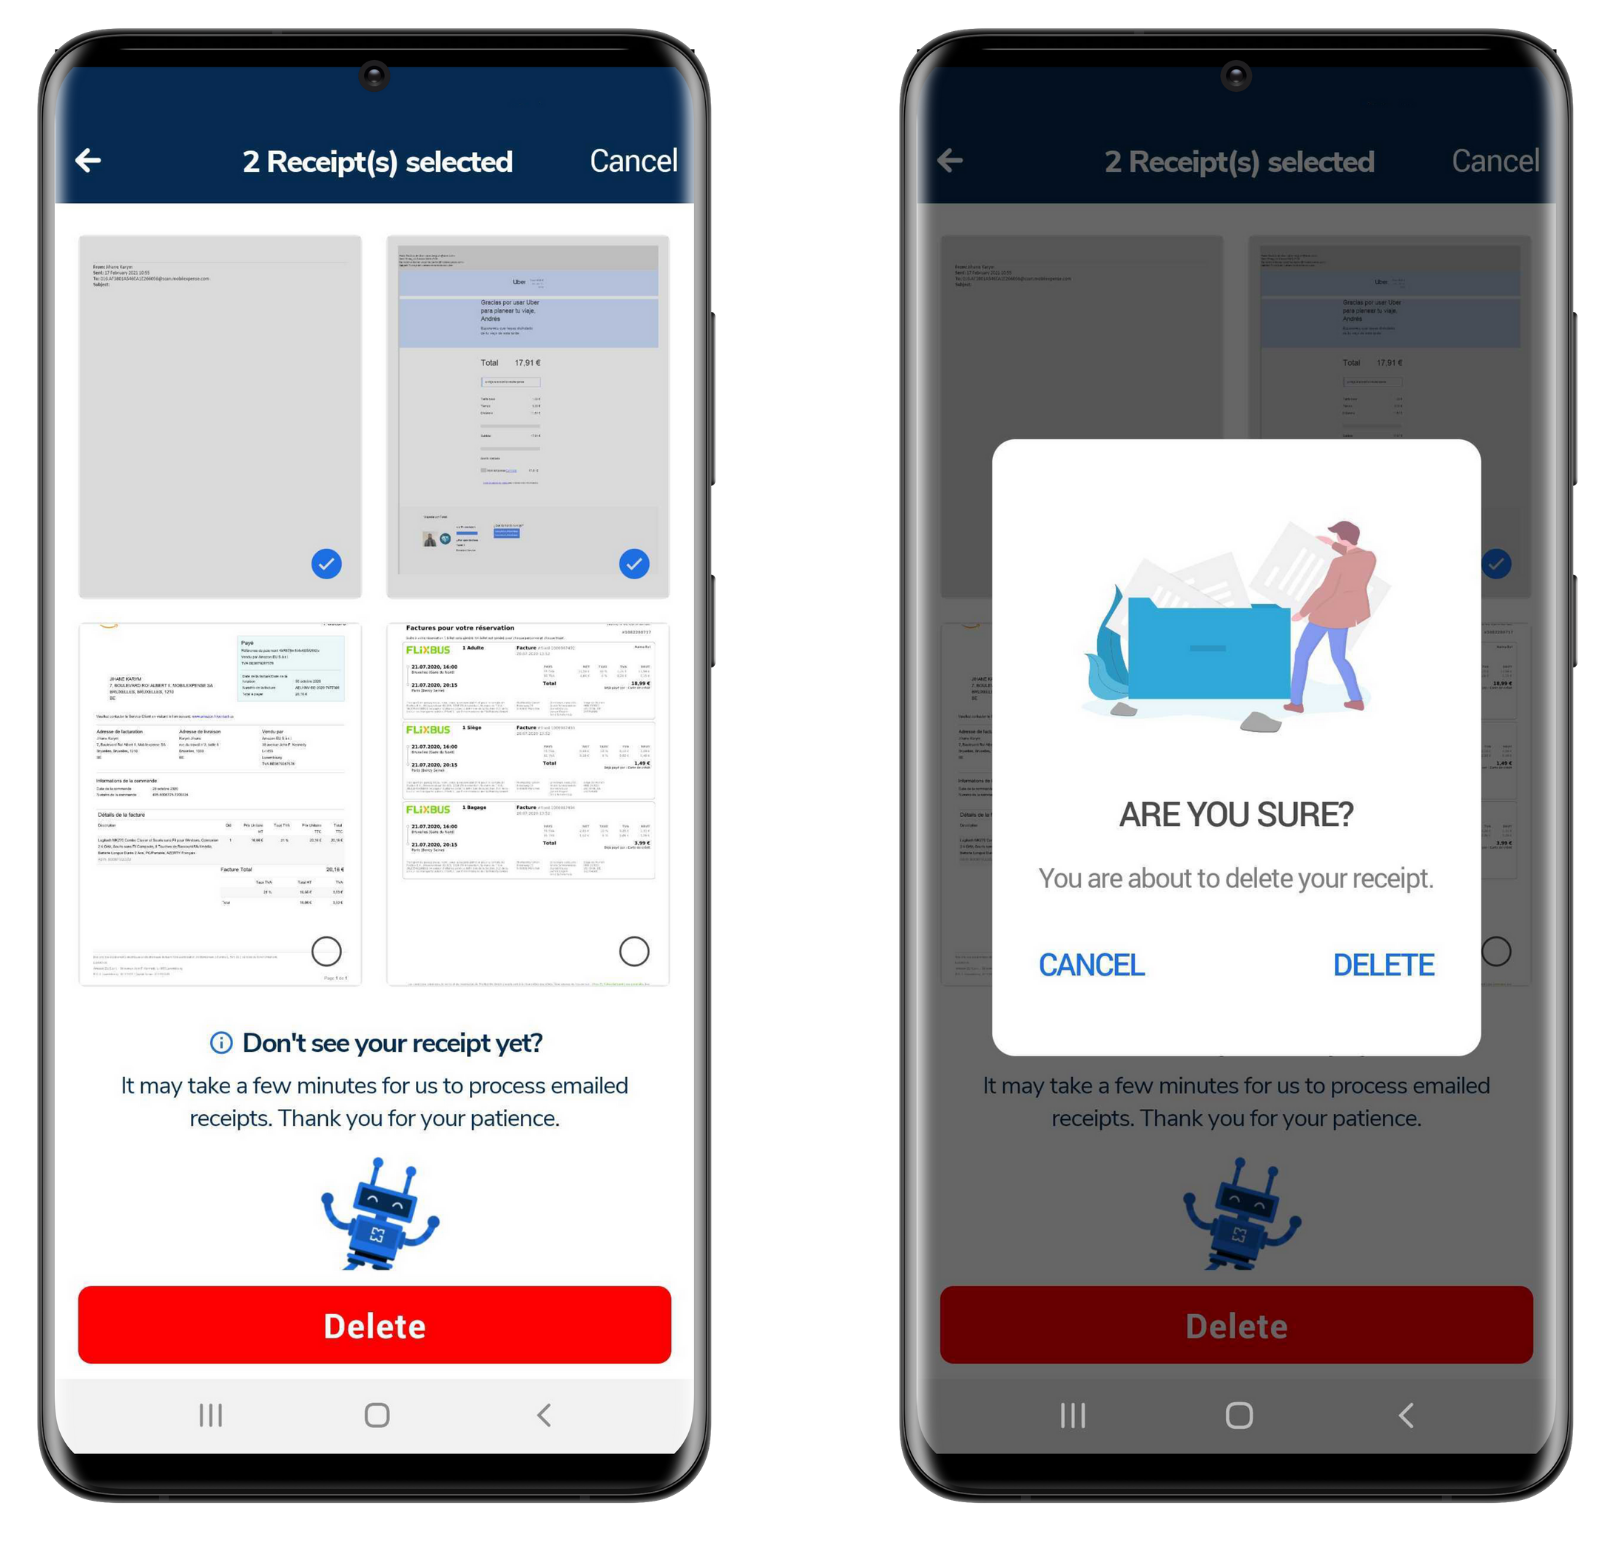
Delete several items at once
press longly on receipts and the selection mode will activate.
Select the items you would like to delete.
The count of selected items is displayed at the top of the screen.
Press delete.
A confirmation pop-up will ask you to confirm.